
Happy Wednesday! Today I want to share with you these flower tutorials. Have fun!
Stitched Ribbon Flower by Beate Johns
Supplies

- Ribbon or lace
- Needle and thread
- Button or brad
-
Step 1
Start running the needle through the edge of the ribbon or lace in big stitches. -
Step 2
Continue to stitch the edge of the ribbon until you arrive at the other end. -
Step 3
Keep the needle on the thread and pull the thread to bunch the ribbon together in a circle. -
Step 4
Line up the two ends of the ribbon on top of each other. -
Step 5
Stitch the two ends of the ribbon together. -
Step 6
Turn flower over so the seam is in the back. Now pull the thread ends again until the flower is a shape you like. -
Step 7
Turn the flower back over and tie the thread in a knot and cut off. -
Step 8
Add a button or brad in the flower center.


No-Sew Fabric Flower by Lil Blue Boo
Glue Gun
Fabric Scraps
Fabric Scraps
To make a flower, first I start by connecting two chenille pipe cleaners together. I've found that two make the perfect size flower:

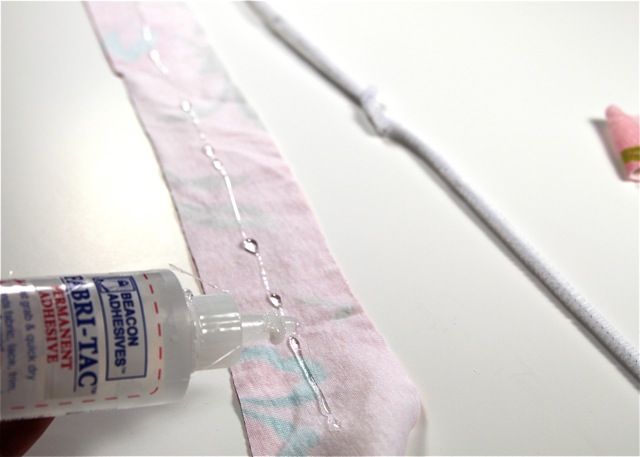
For each flower you need a 20" x 2" fabric scrap. Start by putting a long bead of Fabri-Tac along the strip:

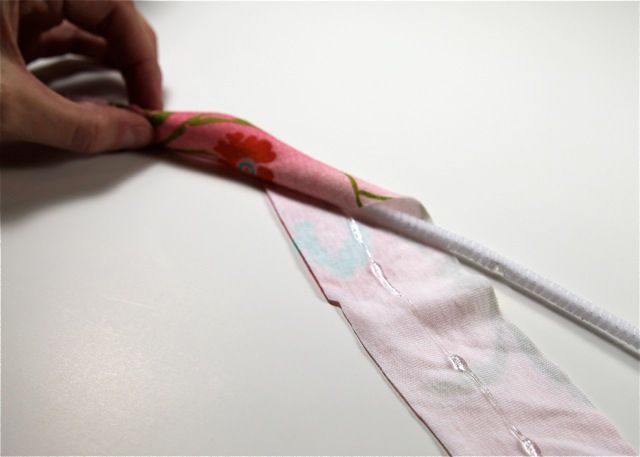
Starting at one end start rolling the fabric around the pipe cleaner. The key is not to roll to tight or too perfect....just kind of haphazardly roll your fabric up:

If you run out of fabric before you get the pipe cleaners covered just add another piece in as you go:

Once the pipe cleaner is covered with fabric, start at one end and begin rolling the flower into a spiral shape, adding in a small bead of Fabri-Tac every few inches as you go:

You'll develop your own technique for rolling as you go....I have kind of a roll, roll, then twist technique to make mine look a little fuller and shabby:

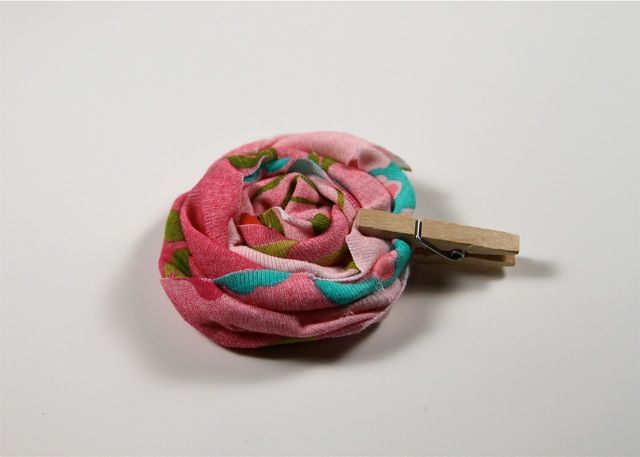
As you get to the end of your flower, tuck the "tail" under the flower with a dab of Fabri-Tac and use a small clothespin to secure. Let the Fabri-Tac set for about 30 minutes.

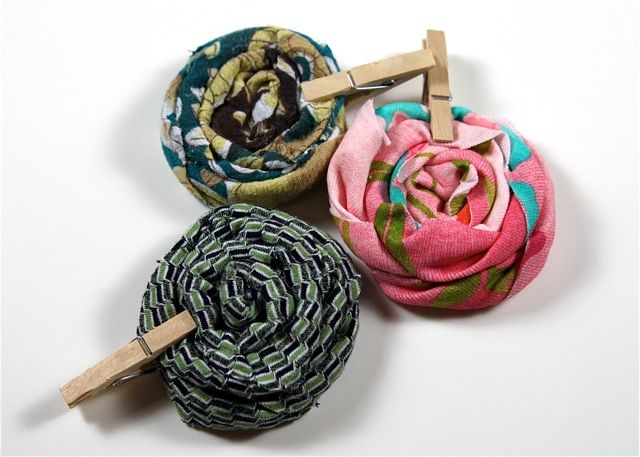
I like to mix all different textures of fabrics....one of these flowers was a cotton gauze, one part of a upcycled golf shirt and another was some floral knit.

You can make ribbon "leaves" by twisting pieces of ribbon, secure with a pin, and add a dab of Fabri-Tac:

Once all of your flowers have had time to set, add a large amount of Fabri-Tac to the bottom of each flower but keeping about 1/4" to 1/2" away from the edge of the flower:

Place your flowers down onto a piece of felt in the shape that you prefer:

Add in your ribbon leaves between the flowers and felt before the glue has a chance to set, adding more Fabri-Tac if needed:

My favorite part? I like to "mash" all the flowers together for about a minute so that they don't look too perfectly round and so that they form into one another. With the pipe cleaners inside and the Fabri-Tac they will retain some of this "mashed" shape once you let go:

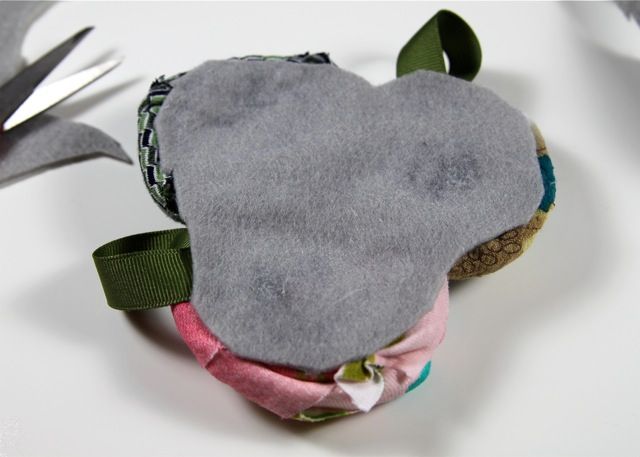
One your glue has set, carefully trim the felt around the flowers so it isn't visible when the flowers are right side up:

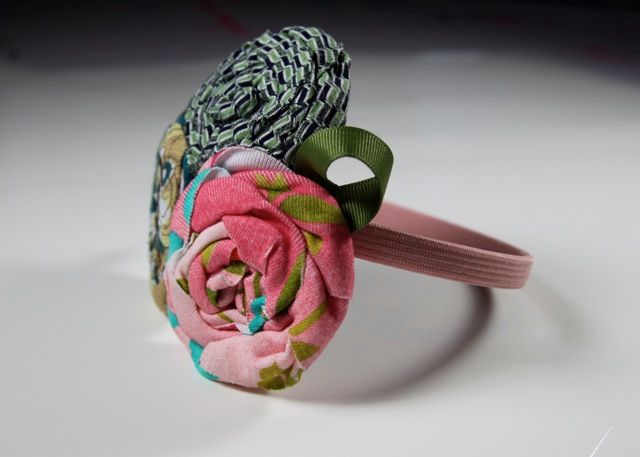
You can use your flowers on your pages, on your t-shirts or make a gorgeous headband!

Have a fabulous and blessed Wednesday!

For each flower you need a 20" x 2" fabric scrap. Start by putting a long bead of Fabri-Tac along the strip:
Starting at one end start rolling the fabric around the pipe cleaner. The key is not to roll to tight or too perfect....just kind of haphazardly roll your fabric up:
If you run out of fabric before you get the pipe cleaners covered just add another piece in as you go:

Once the pipe cleaner is covered with fabric, start at one end and begin rolling the flower into a spiral shape, adding in a small bead of Fabri-Tac every few inches as you go:
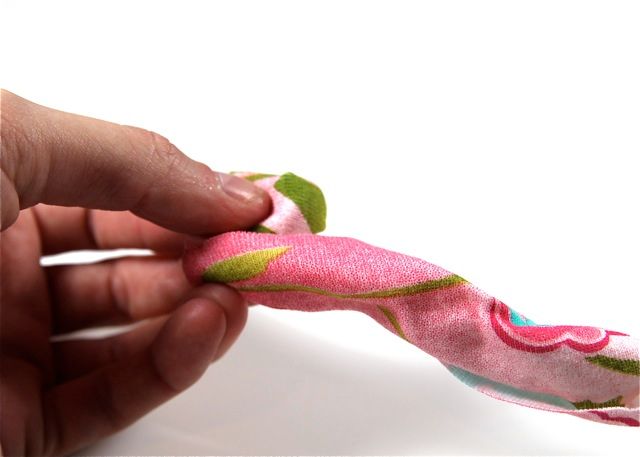
You'll develop your own technique for rolling as you go....I have kind of a roll, roll, then twist technique to make mine look a little fuller and shabby:
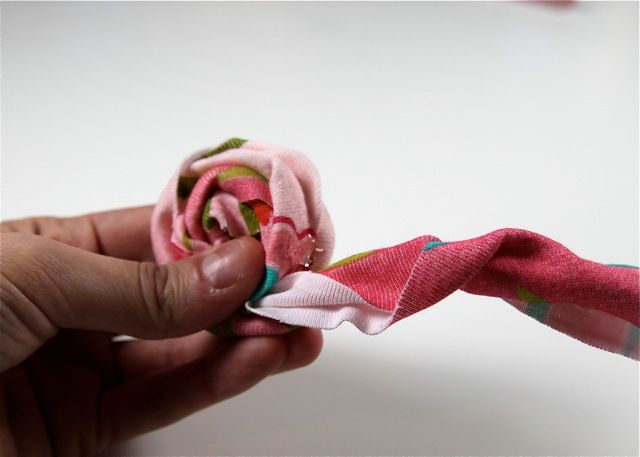
As you get to the end of your flower, tuck the "tail" under the flower with a dab of Fabri-Tac and use a small clothespin to secure. Let the Fabri-Tac set for about 30 minutes.
I like to mix all different textures of fabrics....one of these flowers was a cotton gauze, one part of a upcycled golf shirt and another was some floral knit.
You can make ribbon "leaves" by twisting pieces of ribbon, secure with a pin, and add a dab of Fabri-Tac:

Once all of your flowers have had time to set, add a large amount of Fabri-Tac to the bottom of each flower but keeping about 1/4" to 1/2" away from the edge of the flower:

Place your flowers down onto a piece of felt in the shape that you prefer:

Add in your ribbon leaves between the flowers and felt before the glue has a chance to set, adding more Fabri-Tac if needed:
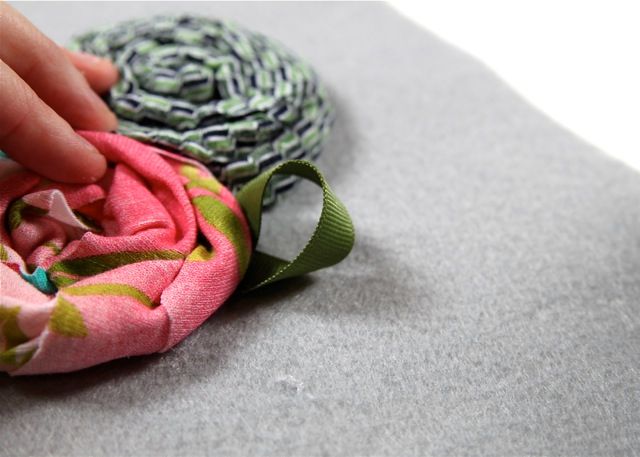
My favorite part? I like to "mash" all the flowers together for about a minute so that they don't look too perfectly round and so that they form into one another. With the pipe cleaners inside and the Fabri-Tac they will retain some of this "mashed" shape once you let go:

One your glue has set, carefully trim the felt around the flowers so it isn't visible when the flowers are right side up:
You can use your flowers on your pages, on your t-shirts or make a gorgeous headband!
Have a fabulous and blessed Wednesday!


